Chocolate Hazelnut Thumbprint Cookies
Uitgelicht onder: Uit de Bakvorm
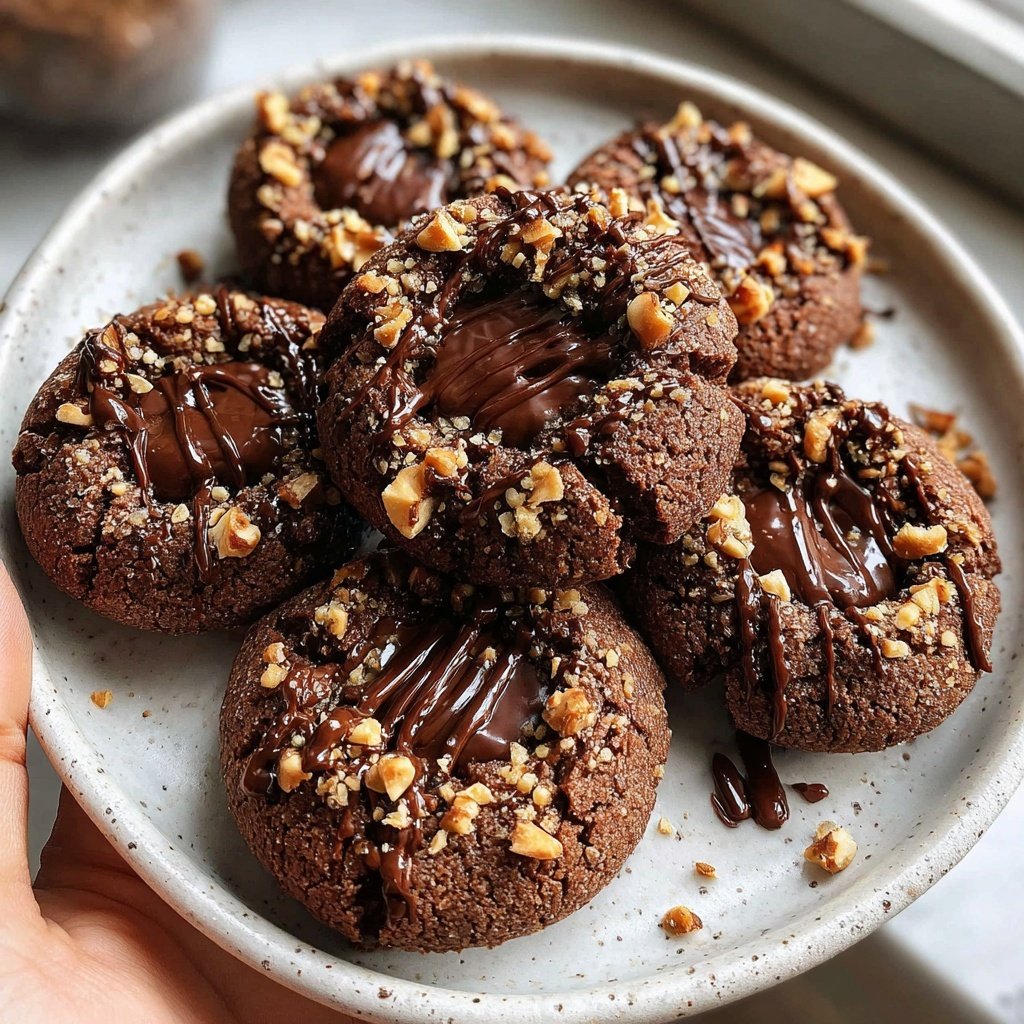
I absolutely love baking, and these Chocolate Hazelnut Thumbprint Cookies have become a delightful staple in my kitchen. Their enticing aroma fills the house with warmth as they bake, making it hard to resist. The rich combination of chocolate and hazelnuts provides an irresistible treat, perfect for indulging during cozy afternoons or special occasions. They are simple to make yet elegant enough to impress guests, allowing me to showcase my baking skills while enjoying the satisfaction of creating something delicious from scratch.
When I first tried making thumbprint cookies, I wanted to incorporate something special, so I blended chocolate and hazelnuts together. The result was phenomenal, and I’ve tweaked the recipe over time to enhance the flavors further. Using quality chocolate really makes a difference, and I added a touch of sea salt to elevate the sweetness.
This recipe has become popular among my friends and family, and each time I make them, I experiment with different fillings. It’s a fun way to personalize each batch, and the joy of seeing everyone enjoy them keeps me coming back to this delightful treat!
Why You'll Love These Cookies
- Rich chocolate flavor paired with crunchy hazelnuts
- Delicate texture with a soft center and crispy edges
- Perfect for gifting or serving at gatherings
Understanding the Ingredients
The foundation of these Chocolate Hazelnut Thumbprint Cookies lies in the balance between the all-purpose flour and unsweetened cocoa powder. The flour provides structure, while the cocoa powder contributes that rich chocolate flavor without adding excess moisture. If you prefer a gluten-free option, you can use a 1:1 gluten-free baking blend in place of the all-purpose flour, but be aware that the texture may differ slightly.
Butter is crucial for creating a soft and chewy texture. Make sure the butter is at room temperature to enable proper creaming with the sugars. This process incorporates air into the batter, resulting in a lighter cookie. If you're in a pinch, you can substitute with coconut oil or a plant-based butter alternative, though the flavor will change slightly.
Perfecting the Thumbprint Technique
Creating the thumbprint indentations is an important step that allows the chocolate hazelnut spread to nestle perfectly in each cookie. It’s essential to do this after the cookies have set in the oven for about 5 minutes. If you press too hard, the cookies may crack; if too light, the filling may overflow. A gentle but firm push with your thumb is ideal for creating the perfect well.
Baking the cookies until just set with slightly crisp edges is crucial. Keep an eye on them around the 10-minute mark; a visual cue would be a slight puffing in the centers, indicating they’re done. Overbaking can lead to a dry texture, so I often check for doneness by lightly touching the edges—they should feel firm yet soft in the middle.
Ingrediënten
Gather these delicious ingredients to create your Chocolate Hazelnut Thumbprint Cookies:
For the Cookies
- 1 cup all-purpose flour
- 1/2 cup unsweetened cocoa powder
- 1/4 teaspoon baking soda
- 1/4 teaspoon salt
- 1/2 cup unsalted butter, softened
- 1/2 cup granulated sugar
- 1/4 cup brown sugar
- 1 teaspoon vanilla extract
- 1 large egg
- 1/2 cup finely chopped hazelnuts
For the Filling
- 1 cup chocolate hazelnut spread
- 1/4 cup chopped hazelnuts (for garnish)
Now that you have your ingredients ready, let’s move on to the baking steps!
Bereidingswijze
Follow these easy steps to make your delicious cookies:
Preheat the Oven
Preheat your oven to 350°F (175°C) and prepare a baking sheet with parchment paper.
Mix Dry Ingredients
In a bowl, whisk together the flour, cocoa powder, baking soda, and salt until combined.
Cream Butter and Sugars
In another bowl, cream the softened butter, granulated sugar, and brown sugar until light and fluffy, about 3 minutes.
Add Egg and Vanilla
Mix in the egg and vanilla extract until well combined.
Combine Mixtures
Gradually add the dry ingredients to the wet mixture, mixing just until combined. Fold in the chopped hazelnuts.
Shape the Cookies
Scoop tablespoon-sized portions of dough and roll them into balls. Place them on the prepared baking sheet, spacing them about 2 inches apart. Use your thumb to create an indentation in the center of each ball.
Bake the Cookies
Bake in the preheated oven for 10-12 minutes. Remove from the oven and let cool for 5 minutes.
Add the Filling
After cooling slightly, fill each indentation with chocolate hazelnut spread and sprinkle with chopped hazelnuts.
Cool Completely
Allow the cookies to cool completely on the baking sheet before transferring them to a wire rack.
Enjoy your delicious Chocolate Hazelnut Thumbprint Cookies with a glass of milk or coffee!
Professionele Tips
- For extra crunch, feel free to toast the hazelnuts before chopping them. This enhances their flavor and adds richness to the cookies.
Storage Tips
These cookies can be stored in an airtight container at room temperature for up to a week. If you want to extend their freshness, consider freezing them. Just place the cookies in a single layer on a baking sheet until frozen, then transfer them to a freezer bag. They’ll keep well for up to three months, making them a convenient treat for future cravings.
When you’re ready to enjoy the frozen cookies, simply let them thaw at room temperature for about 30 minutes. If you prefer a warm cookie, you can also pop them in a preheated oven at 350°F (175°C) for about 5-7 minutes to refresh their texture.
Serving Suggestions
These Chocolate Hazelnut Thumbprint Cookies are incredibly versatile in their pairing options. They make a lovely accompaniment to a cup of coffee or tea, adding a delightful nutty and chocolatey note. For special occasions, you might drizzle a bit of melted white chocolate over the cooled cookies for contrast and added visual appeal.
For a sophisticated twist, try serving them alongside a creamy scoop of gelato or a glass of dessert wine, like a rich port. The combination of textures and flavors can elevate your serving experience and make these cookies a standout feature on any dessert table.
Vragen Over Recepten
→ Can I use almond flour instead of all-purpose flour?
Yes, but note that the texture may change, and you might need to adjust the amount slightly.
→ How should I store these cookies?
Store them in an airtight container at room temperature for up to a week.
→ Can I freeze the dough?
Absolutely! You can freeze the cookie dough for up to 3 months. Thaw in the refrigerator before baking.
→ What can I use instead of chocolate hazelnut spread?
You can use peanut butter or any other nut butter of your choice for a different flavor profile.

Chocolate Hazelnut Thumbprint Cookies
Gemaakt door: Rosalyn Whitfield
Recepttype: Uit de Bakvorm
Vaardigheidsniveau: Intermediate
Eindportie: 24 cookies
Wat je Nodig Hebt
For the Cookies
- 1 cup all-purpose flour
- 1/2 cup unsweetened cocoa powder
- 1/4 teaspoon baking soda
- 1/4 teaspoon salt
- 1/2 cup unsalted butter, softened
- 1/2 cup granulated sugar
- 1/4 cup brown sugar
- 1 teaspoon vanilla extract
- 1 large egg
- 1/2 cup finely chopped hazelnuts
For the Filling
- 1 cup chocolate hazelnut spread
- 1/4 cup chopped hazelnuts (for garnish)
Stappen
Preheat your oven to 350°F (175°C) and prepare a baking sheet with parchment paper.
In a bowl, whisk together the flour, cocoa powder, baking soda, and salt until combined.
In another bowl, cream the softened butter, granulated sugar, and brown sugar until light and fluffy, about 3 minutes.
Mix in the egg and vanilla extract until well combined.
Gradually add the dry ingredients to the wet mixture, mixing just until combined. Fold in the chopped hazelnuts.
Scoop tablespoon-sized portions of dough and roll them into balls. Place them on the prepared baking sheet, spacing them about 2 inches apart. Use your thumb to create an indentation in the center of each ball.
Bake in the preheated oven for 10-12 minutes. Remove from the oven and let cool for 5 minutes.
After cooling slightly, fill each indentation with chocolate hazelnut spread and sprinkle with chopped hazelnuts.
Allow the cookies to cool completely on the baking sheet before transferring them to a wire rack.
Extra Tips
- For extra crunch, feel free to toast the hazelnuts before chopping them. This enhances their flavor and adds richness to the cookies.
Voedingswaarde (Per Portie)
- Calories: 380 kcal
- Total Fat: 26g
- Saturated Fat: 15g
- Cholesterol: 195mg
- Sodium: 85mg
- Total Carbohydrates: 32g
- Dietary Fiber: 3g
- Sugars: 24g
- Protein: 6g